Showing posts with label birthday. Show all posts

Tuesday, October 15, 2013

Re purposed canvas painting

 Found this little painting at D.I.
 Vinyl lettering from Hobby Lobby.
 Paint over everything lightly. Whatever look you like.
While paint is still wet, peel off the vinyl.
I made this for Zoe because she loves all things French, except this painting :) She ended up painting over it and had me write Amore on it in black. Whatever. She knows what she likes.

Saturday, April 27, 2013

Felix's party: Invitations and Decorations

 Felix has been obsessed with the game Candyland lately, so we decided on a Candyland themed party.
 We made these little "lollypop" invitations with a candy stick for the stick of the lollypop.
 The cake was one of my favorite parts of the party. My friend, Laura, came and helped with the decorations, which was a huge help. Besides she is super talented and brilliantly creative.
 Classic piece of candy for the pinata.
 I had saved a bunch of strawberry containers to use as goody bags. I couldn't find a candycane font anywhere, so Laura and I had to do it by hand :)
 Candy decoration was a no brainer and people pleaser!!


 Felix loved this sign. It is still up in his room.


Monday, January 16, 2012

Lydia's fairy birthday invites

 We made these little fairy invitations for Lydia's birthday party. They were little pop-up fairies.
 Lydia colored some of them and I colored others.
This is just showing how when you opened it, the fairy popped out.

Lydia's fairy birthday party

 This is the little fairy we made to play "pin the fairy on the wings" game. Lydia thought it was creepy with her face on it, so I took it off. I thought it was funny.
 I LOVE these tissue paper flowers. They are super easy, cheap, and are like an instant party. Especially when you are decorating for a fairy party.
 Every square inch of the place was covered with tissue flowers, streamers, butterflies, and flowers.
 I got these foam flowers and some similar foam butterflies at the dollar store in packs of 24 each for $1! I stung them and hung them like garlands, I had some flying from the ceiling, and some placed on the table. (The poster board is the wings for "pin the fairy on the wings")
 I made these cupcake toppers with some fairy stickers and skewers. The flower cupcake papers are Wilton, I got them at Wal mart. Aren't they cute?
 Pink and purple overload? Pretzel rods (fairy wands) dipped in candy melts and decorated with sprinkles, etc. Little wood "fairy houses" painted and decorated with sequins.
Party girls consuming as much sugar as possible. We did mini (fairy) foods. Ritz bits, mini oreos, and fruit snacks. Also, they are eating their wands and cupcakes.
We finished up with a Find the Fairy treasure hunt. Each clue was a fairy. On the back was a poem riddle telling where to find the next clue/fairy. At the end they found the treasure, which was the goody bags. We always have them find the pinata at the end of the treasure hunt, but this year I was barely recovered from Christmas to throw a party let alone bring myself to make a pinata. But Lydia was really happy with the gift bags. We got some really fun fairy themed items to go inside. I am not going to make a big deal about it but I didn't get a picture of the goody bags (sob sob). I was really pleased with the way they turned out.

Tuesday, October 11, 2011

Lego Head Pinata tutorial

So, you can buy pre-cut circles of foam. I (always on a budget) went the cheaper route and bought a huge sheet of styrofoam and cut out circles. Also buying this one item I was able to use my Joann 40 % off coupon. I traced the circles onto the foam with a Sharpie. I actually traced some plates and saucers I had.
Two doughnut shaped ones for the top piece 7(?) inches diameter, 2 pieces 8 1/4 in. diameter circles for top and bottom, one circle 8 inch diameter for the very bottom connector piece. If this is confusing look at a minifigure head and it may be more clear.
Cut out the circles and round the edges a bit. I just used a serrated kitchen knife.
I used painters tape to attached the two doughnut pieces together and set them on the "top" piece.
Tape the "bottom" piece to some posterboard. This is horrible but I have forgotten the measurement I used for the paper. Ten inches maybe? Try out different measurements until it looks right. (Hey, this is my first tutorial. I guess I am learning a lot :)
The "top" piece needs a hole cut into it, that the candy will eventually go into. Keep the piece that comes out to "cork" it back up after candy goes in. Also, if you look closely you can see that I cut some little holes for the rope to go in.
Here it is all taped together. You begin to see it taking shape. This part was really hard. The painters tape was not super sticky so the top kept falling into the paper tube. I resisted using duct tape for fear that it would be too sturdy and we wouldn't be able to get into it when it was time. Also, keeping the paper from collapsing (you can see the dent on the right side) was a challange.
The next challange was trying to get the sticky, gluey, newspaper to stick to the foam. It did not want to stick. I ended up just laying it on in places and letting it dry. The next layer wasn't so hard. But the shape was really compromised because of these sticking difficulties.
I put the rope into the holes and knotted it. It stayed in really well and it was really sturdy.
I use a 1:1 ratio of water to flour for the glue. I put on one layer of newspaper with the glue, covering the entire pinata then let it dry completely. Then do another complete layer of newspaper and let it dry. It usually takes many hours to dry. Even in the direct sun can take 3-4 hours (that is why I start making the pinata several days ahead). You could probably put a heater on in front of it to hurry the process.
After the two newspaper layers are dried I put on a layer of plain white paper. It takes less paint to paint over white, rather than newsprint.
When completely dry start painting. When the paint is totally dry, fill it will candy, then put the stopper back in. This was definitly a plus about this particular pinata. Usually with a balloon based pinata, when the second newspaper layer is dry you cut through the layers to make a little "trapdoor" in an inconspicuous spot. Also, a spot that isn't vulnerable. So, not toward the bottom and not close to where the rope is connected. Fill with candy (not chocolate if you are drying in the sun :) Then proceed with white paper layer and paint.
Then decorate. I saw somewhere on the internet someone used a scared face on their Lego Minifigure Head Pinata. I thought it was a must. I penciled it on first, then used Sharpie. For the mouth I used a piece of heavy white paper, with Sharpie then glued onto the pinata.
Look at that puffy toddler hand grabbing for the goodies inside. No wonder Lego head is so scared, a labotamy is looming.
What questions do you have? Is this rather clear? It is harder to describe than I thought it would be.

Monday, October 3, 2011

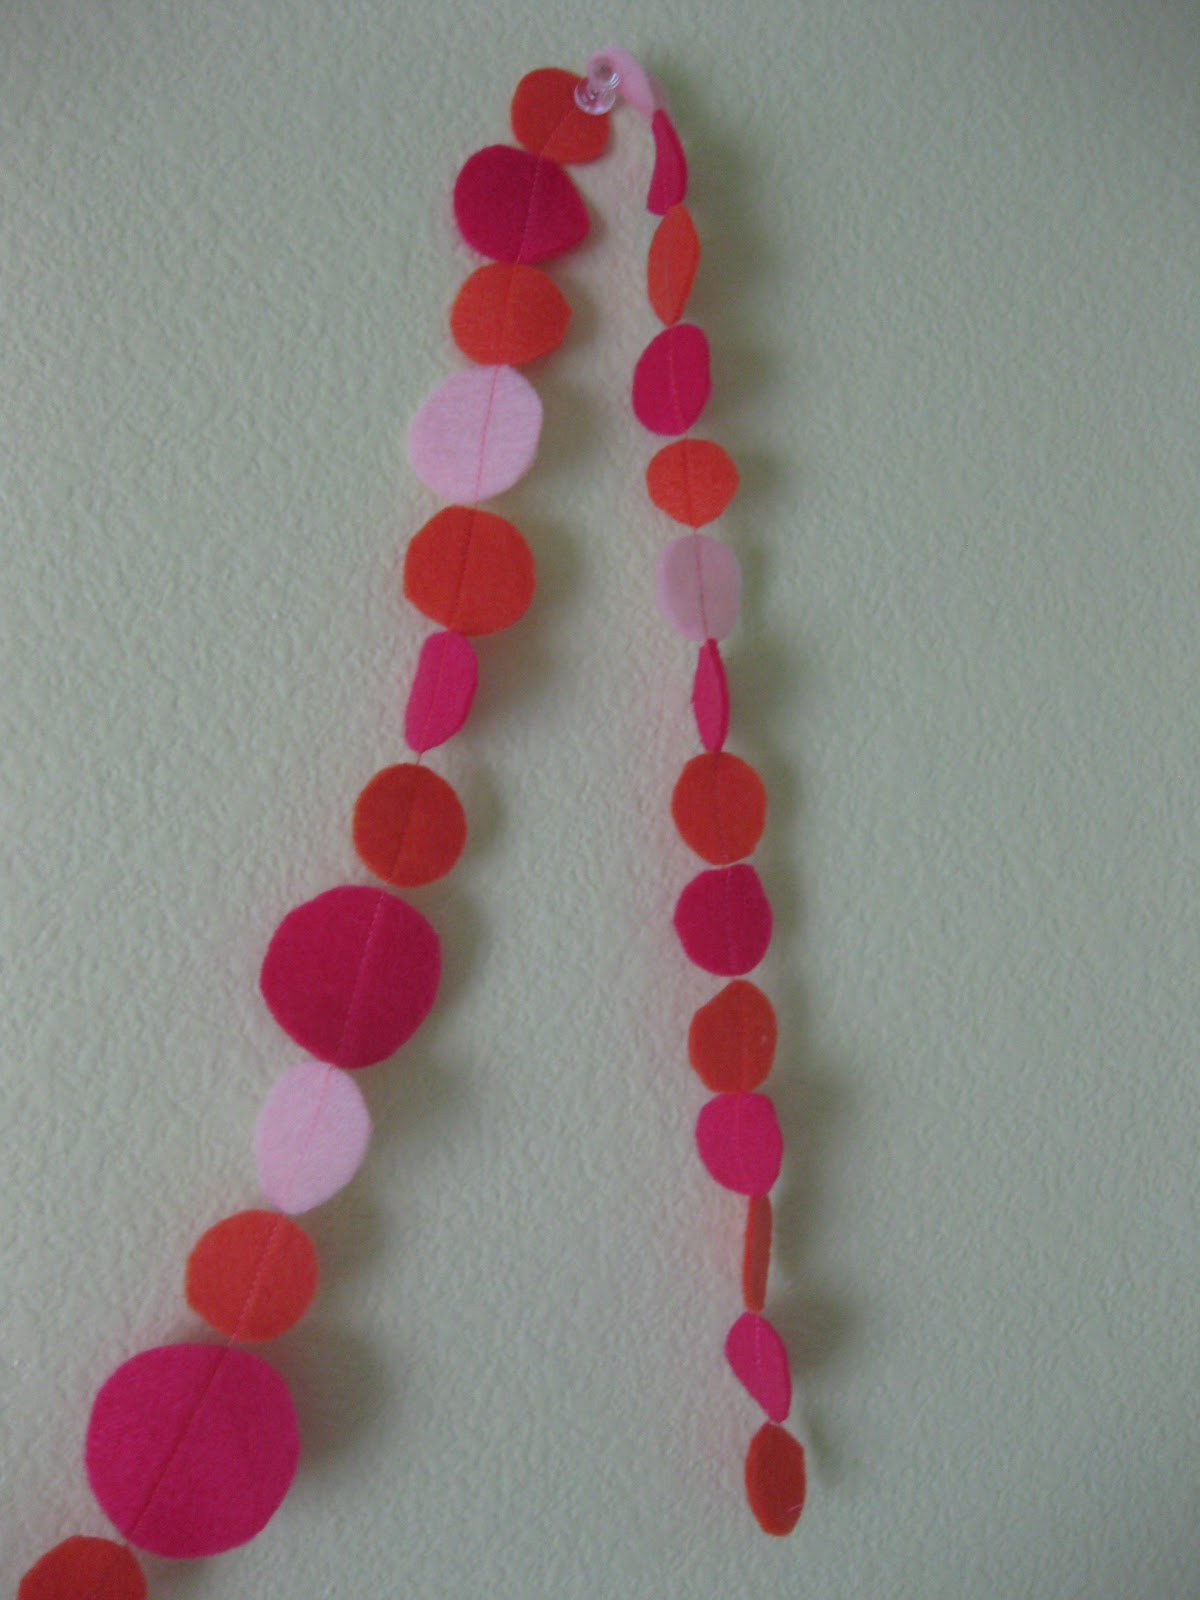
Felt circles banner

 I had seen this somewhere and thought if was really cute, and very simple.
 I had some of Zoe's favorite colors (and the colors of her room) of felt and decided this would make a fun accent in her room.
It turned out really fun and whimsical. The color in this picture is not true. It is orange, hot pink, and light pink. Her walls are Spring Green.

Birthday Banner (girl version)

Since Zoe's birthday was coming up, I decided I needed to make a girl version of this boy birthday banner that we have enjoyed having up around the boy's birthdays. It makes the house feel festive and fun. Not the greatest picture, but you get the idea.

Monday, September 19, 2011

Lego Party- Pinata!

 I will add on a step by step tutorial on how to make this Lego head pinata in another post.
Have I killed the Lego theme by now? I saw this great idea for a Lego head pinata (which is what Liam requested). I liked the scared face. He is about to get his brains knocked out!
 Liam was so excited about it. Again, I got some video of the boys hitting the pinata, but they aren't very good. Note to self: next time take stills of the pinata slaughter. The funnest image would be the candy all flying through the air, but you never know when it will happen. That is why it is so fun!
The bottom broke off. Travis sporting the Lego look.

Lego Party- Cake and Decorations

 Cake and Decorations are my least favorite aspect of party planning. I love baking. I love decorating. For some reason they always stress me out the most. I think it is because I have unrealistic expectations that I am unable to make happen.
I found a couple of super cute ideas for Lego themed cakes here and here but knew there was no way I could pull them off. So, it doesn't matter what I had planned, this is what happened. I was trying to get my cake out of the pan to cool. It slipped out and landed on the counter in pieces. I got it put back in as best I could. But this is what I had to work with:
 I decided to cut squares out of the usable parts and turn them into "cupcakes".
 Then I surrounded them with chocolate Lego bricks. Piped some colorful frosing on them.
 Put some chocolate minifigures on top and some candles and Happy Birthday skewers.
At least they tasted good and the boys were thrilled. They played with the minifigures and built with the chocolate bricks. So I am happy with it, even if it wasn't the original plan.

I won't even include a picture of decorations. Streamers and balloons. You could tell it was a party.

Lego Party-Games

When the kids got here they just jumped on the trampoline for the first twenty minutes which was fine with me. Boys sometimes scare me with the amount of energy they have.
The first game we had planned was one that I ALWAYS played at my birthday parties growing up. Each person gets a name pinned onto their back that they don't know what it is. Then you ask questions to find out who "you" are. I did Lego characters. They had fun doing it.
We did a Guess How Many Legos game where they have to guess how many Legos (did you figure that part out?) in a jar.
Next, we did a Design your Own Minifigure game. I had drawn a blank Lego Minifigure with Sharpie and made copies. I didn't know if they would enjoy this as much as Liam and I did, but they were really excited about it and so creative! They stuck with it longer than I thought they would. Some of the boys were so careful about their designs. They all turned out really great and funny.


I borrowed the Lego game Creationary from a friend and we played a bit of that. Then after gifts and cake (another post) the boys started the Lego movie, Clutch Powers. I thought that since the party was 3 hours long that they wouldn't mind some down time.
After watching some of the movie we went on a treasure hunt. Another tradition from my growing up party days. I did pictoral clues. Every boy got a chance to find a clue. I did take some videos but it is just of a bunch of boys running from place to place. Nothing is quite as fun watching the excitement they feel trying to find a treasure, which in this case, was the pinata (hidden in the dryer).