I am madly in love with this soup!!! I have made it twice in the past week and would willingly have it again for dinner tonight, okay lunch, why not.
I found this recipe in my Blendtec recipe book, and while I was not intrigued by the name, thankfully I tried it anyway.
Beans and Greens Soup
1 medium onion
1 clove garlic
2 cups broth (or more)
4 cups kale, ribs removed and roughly chopped
2 (15 oz.) cans white beans, drained, rinsed and divided
1/2 tsp. crushed red pepper
1/4 tsp. ground cumin
Heat some oil over medium-high heat. Add onion and garlic, cook 5 minutes or until tender. Add 1 cup broth and kale and cover. Cook until kale is wilted, about 5 minutes. While kale is cooking, add half the beans, remaining broth, and spices to a blender and puree. Pour bean mixture into the pan with the kale, add remaining beans. Simmer for 5 minutes and serve.
You will notice in the picture there are little orange jewels floating around. We had some roasted sweet potatoes that we added in, the first time. The second time we made it we added in some roasted rosemary cauliflower. While certainly not necessary it was fabulous!!!
A photo journal of the things I create, am creating, or want to create, causing me constant distraction.
Tuesday, December 11, 2012
Make your own fresh evergreen wreath
After cutting the lower branches off our Christmas tree, as always, I decided to make a wreath.
This time I am going to attempt a tutorial. Please excuse the terrible lighting in the pictures.
I started with some old dry cleaning hangers. I used two twisted together at the ends and formed into a crude circle. Don't worry too much about this, it is pretty forgiving.
Next, cut your branches into little pieces of greenery, like this. Again, they don't need to be perfect, because it is easy to disguise.
Next, I laid a bunch of these sprigs over the hanger going in the same direction laying the green part over the stick part of the last one. Just to hide as much of the wood as you can.
Next, I got some green florist wire at the dollar store. Start wrapping the wire around the branches, attaching them to the hanger wire. Just keep wrapping around and around. It is okay if the greenery is getting held down. We will make it fluffier later.
Here, in this terrible picture you can see how it looks skinnier after the wire is wrapped around. After you have gone around the circle once, do it again. Lay more branches on top, overlapping as you go, going the same direction each time.
After going around the wreath, adding sprigs, three times the wreath should be looking pretty thick. Then, take some sprigs and (in the same direction) start shoving them under the wire. This makes it look fuller and more natural. The above picture shows what it looks like after this step.
Then, I decided to add a different kind of green to give the wreath some depth and added interest. I cut some sprigs off of a Juniper bush in our yard and added those. I really like the two different kinds of greens in the wreath.
I really like the natural look, but my girls really wanted some shine in it. So I wired some little plastic red balls (dollar store) and wired them right to the wreath.
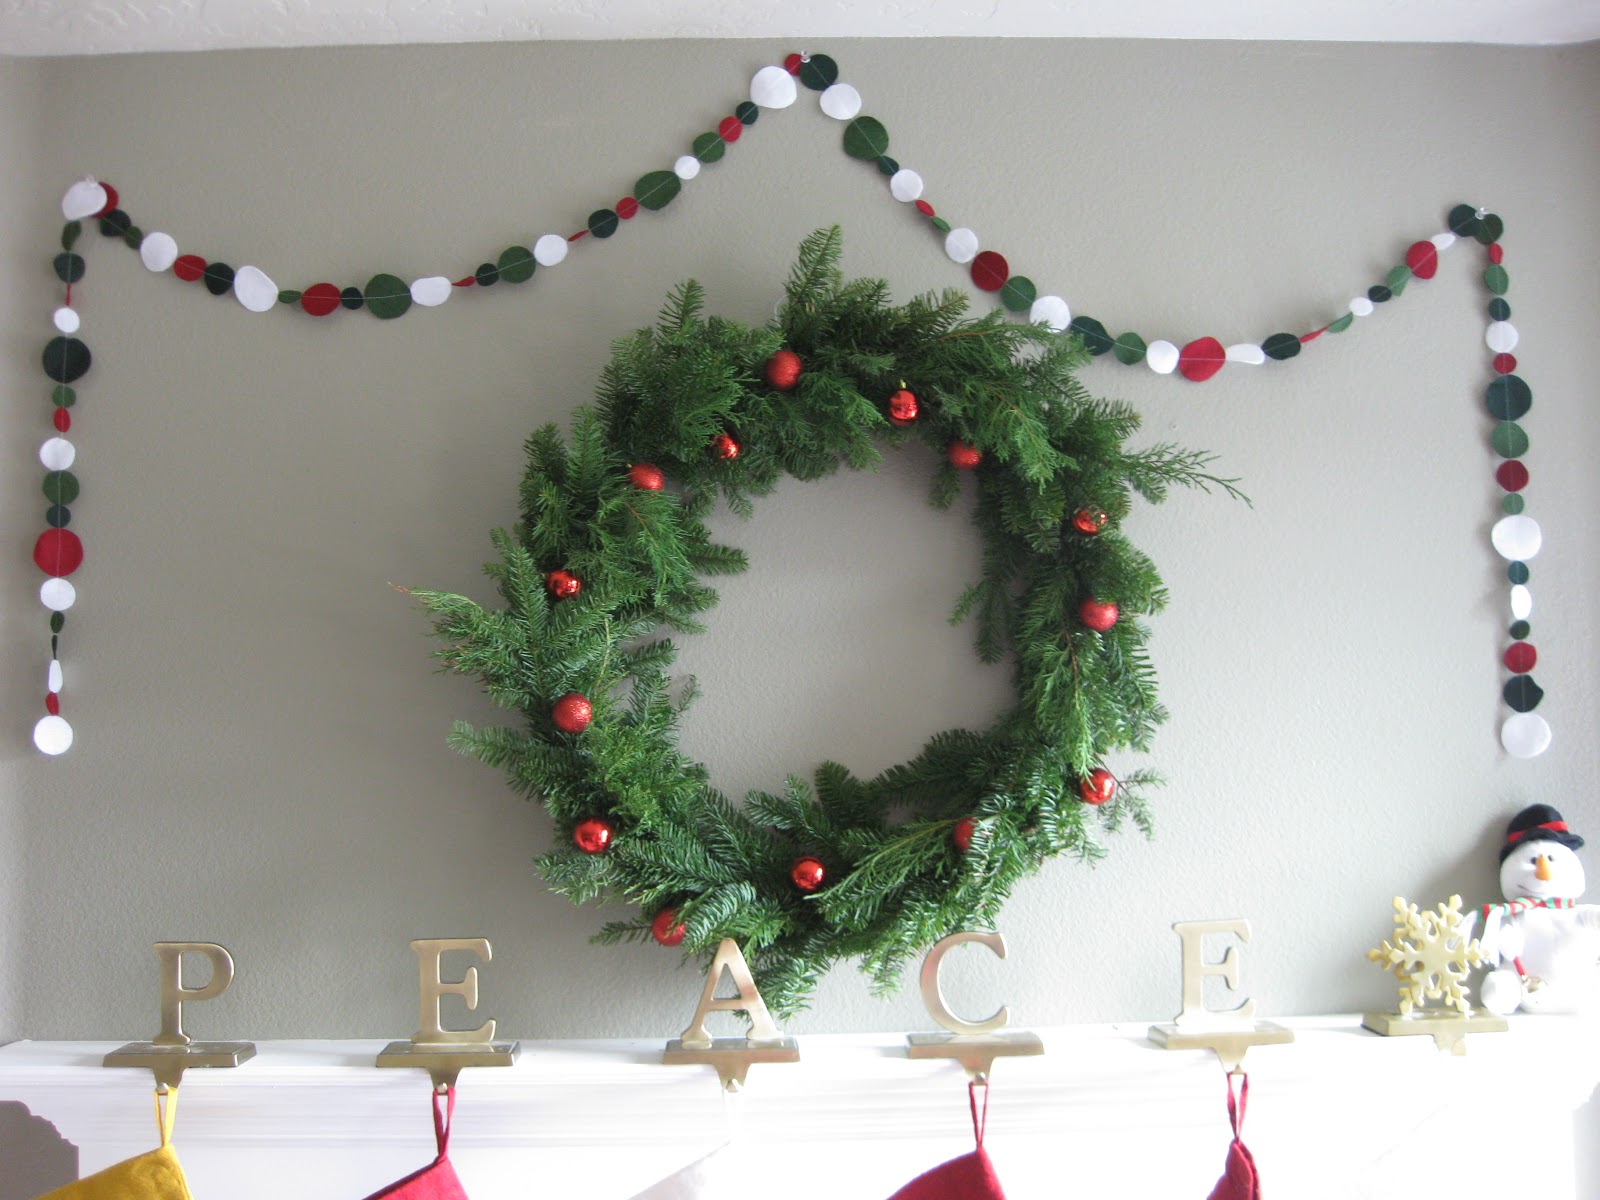
Then I hung it up above my beloved mantle.
This time I am going to attempt a tutorial. Please excuse the terrible lighting in the pictures.
I started with some old dry cleaning hangers. I used two twisted together at the ends and formed into a crude circle. Don't worry too much about this, it is pretty forgiving.
Next, cut your branches into little pieces of greenery, like this. Again, they don't need to be perfect, because it is easy to disguise.
Next, I laid a bunch of these sprigs over the hanger going in the same direction laying the green part over the stick part of the last one. Just to hide as much of the wood as you can.
Next, I got some green florist wire at the dollar store. Start wrapping the wire around the branches, attaching them to the hanger wire. Just keep wrapping around and around. It is okay if the greenery is getting held down. We will make it fluffier later.
Here, in this terrible picture you can see how it looks skinnier after the wire is wrapped around. After you have gone around the circle once, do it again. Lay more branches on top, overlapping as you go, going the same direction each time.
After going around the wreath, adding sprigs, three times the wreath should be looking pretty thick. Then, take some sprigs and (in the same direction) start shoving them under the wire. This makes it look fuller and more natural. The above picture shows what it looks like after this step.
Then, I decided to add a different kind of green to give the wreath some depth and added interest. I cut some sprigs off of a Juniper bush in our yard and added those. I really like the two different kinds of greens in the wreath.
I really like the natural look, but my girls really wanted some shine in it. So I wired some little plastic red balls (dollar store) and wired them right to the wreath.
Then I hung it up above my beloved mantle.
Labels:
Christmas,
decor,
flower arrangement,
recycling,
tutorial
Thursday, November 29, 2012
Some Christmas Decor
Made a wreath from the discarded branches of the Christmas tree. I like the way it turned out this time. I also added some juniper from one of our bushes outside. I made a little one for the front door as well. I took pictures to do a tutorial, so we will see if that happens.
Topped with the felt circles banner. Instant color and festivity.
I decided to display Christmas cards a little differently this year. I took some old frames (that I pulled out of someone's garbage can), tied some string around them and clothes pinned some cards to it. I like how it turned out. Add another felt banner for color.
Topped with the felt circles banner. Instant color and festivity.
I decided to display Christmas cards a little differently this year. I took some old frames (that I pulled out of someone's garbage can), tied some string around them and clothes pinned some cards to it. I like how it turned out. Add another felt banner for color.
2011 Ornaments
I get the kids an ornament every year. I started making them a few years ago, because my favorite part of Christmas (the decor, at least) was getting out the little wood toys that my Dad would make us every year. Here are the ones I made for 2010.
Last year I packed up the ornaments I made before I could take pictures.
Zoe got an orange Converse shoe. She loves orange and Converse shoes.
Liam got a white dove to represent the year he was baptized.
Lydia started school this year so she got an apple.
Felix was obsessed with the alphabet last year, so got a chalkboard with the alphabet letters. He also started pre-school, so that counts for that, too.
Last year I packed up the ornaments I made before I could take pictures.
Zoe got an orange Converse shoe. She loves orange and Converse shoes.
Liam got a white dove to represent the year he was baptized.
Lydia started school this year so she got an apple.
Felix was obsessed with the alphabet last year, so got a chalkboard with the alphabet letters. He also started pre-school, so that counts for that, too.
infant circle skirt
Okay, so I am modeling this skirt on my leg. I wish I had a picture of it on my little niece, for whom it was made. I used this tutorial. Super easy, super cute!
Robot costume
After last years viking costume, which was discarded 30 minutes after starting Trick-or-treating, Liam wanted something more accessable this year. Epic fail! This one didn't make it ten minutes. But it looks pretty cool.
I had him completely design it. Okay, I showed him some examples, but he chose which elements he wanted to use.
I got some silver spray paint, boxes, silver (shiny) duct tape, and some stuff at the dollar store.
Turned out pretty cool. The light on his belly glows (can you tell?). The orange part on his forhead was a strobe light.
I had him completely design it. Okay, I showed him some examples, but he chose which elements he wanted to use.
I got some silver spray paint, boxes, silver (shiny) duct tape, and some stuff at the dollar store.
Turned out pretty cool. The light on his belly glows (can you tell?). The orange part on his forhead was a strobe light.
Monday, November 5, 2012
striped knit cowl
Okay, so I am a little obsessed about cowls and scarves. I love keeping my neck warm! I decided I wanted a super soft knit one. Actually, my inspiration is a funny story, so I will share it. Last year my husband sent me to Hawaii for ten days because I was so miserable to live with he knew I needed a break. It was the most perfect, inpiring, life-changing, soul searching, rejuvinating trip ever! On the way home (it is February, by the way) I was freezing. I hadn't packed many warm clothes, but all the ones I had packed were on my body. I needed a scarf! During a layover I grabbed my pajama pants out of my suitcase and I tied them around my neck for a super comfy scarf!
So, inspired by how comfy my PJ pants were as a scarf, I went to go get some soft fabric to make one. I made 3 in a matter of 10 min (there is really nothing to it...one straight stitch). The other two I gave as gifts to ladies I HOPE enjoy them as much as I do. Also, when I bought the fabric the lady that sold it to me said that she had never seen uglier fabric in the 6 years she had been working there. I consider that a success!
Subscribe to:
Posts (Atom)